Cultivate Creativity Series Part 2 - Air Dry Clay Pendants
Welcome to part two of our Cultivating Creativity Series! It's been shown that investing time and energy into creative pursuits can have significant benefits for both personal and professional growth - from increased mental agility to improved problem solving and innovation. Who doesn’t want that?
Today we are exploring clay techniques to make jewelry!
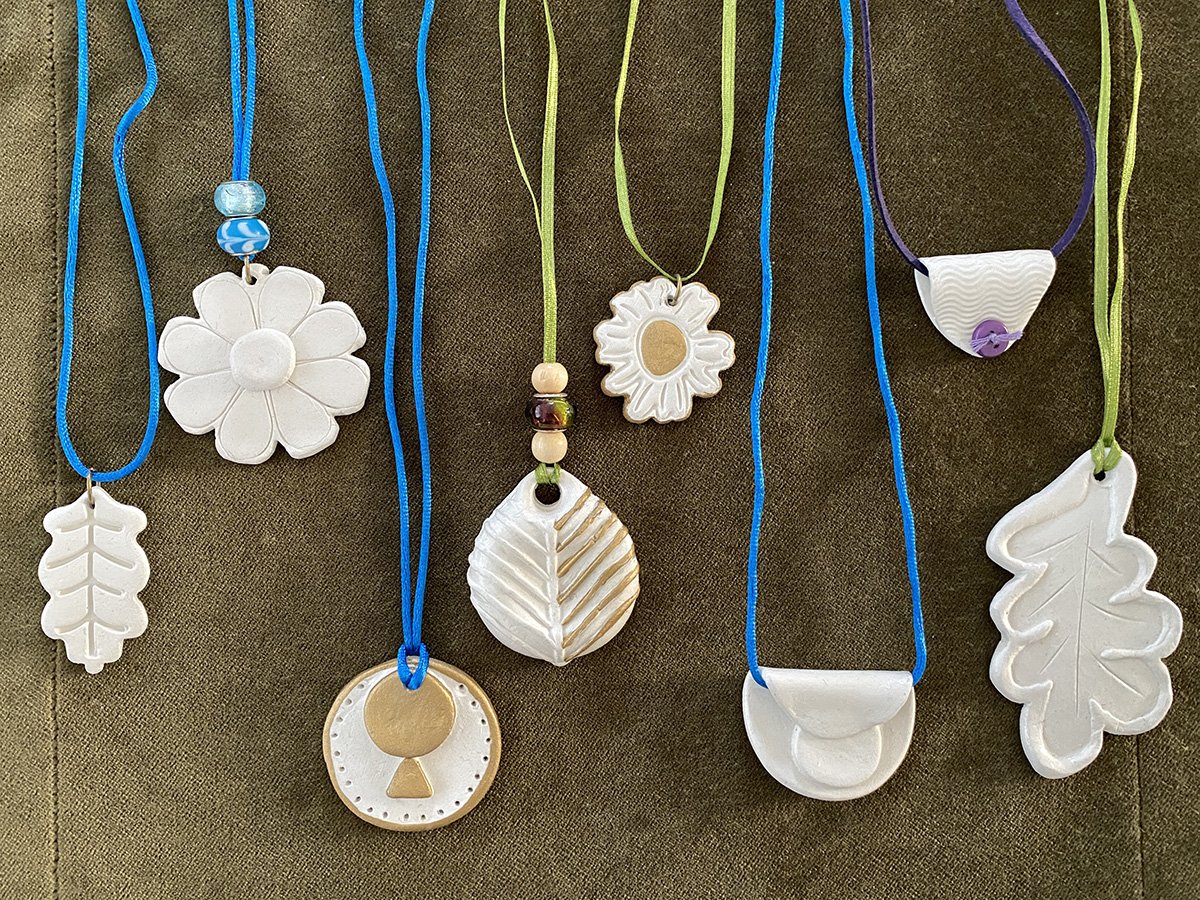
Air dry clay is a fun medium to express your creativity and fashion sense. Not only is it easy to work with, but with a few basic steps, you can create unique, one-of-a-kind pieces to reflect your personal style. Let's get started!

Step 1: Choose Your Clay and Gather Supplies
The first step in making air dry clay jewelry is to choose the type of clay you want to work with. There are many different brands and types of air dry clay available, popular options include Das, Amaco, and Creative Paperclay. I prefer Das for its pure white properties.


In addition to clay you will need cutting tools, a rolling pin, texture plates (optional), cookie cutters, a small straw or sewing needle, gold leaf pen, and Mod Podge or Gloss Gel. You may also need jewelry rings, beads, a small set of pliers, and a paint brush.

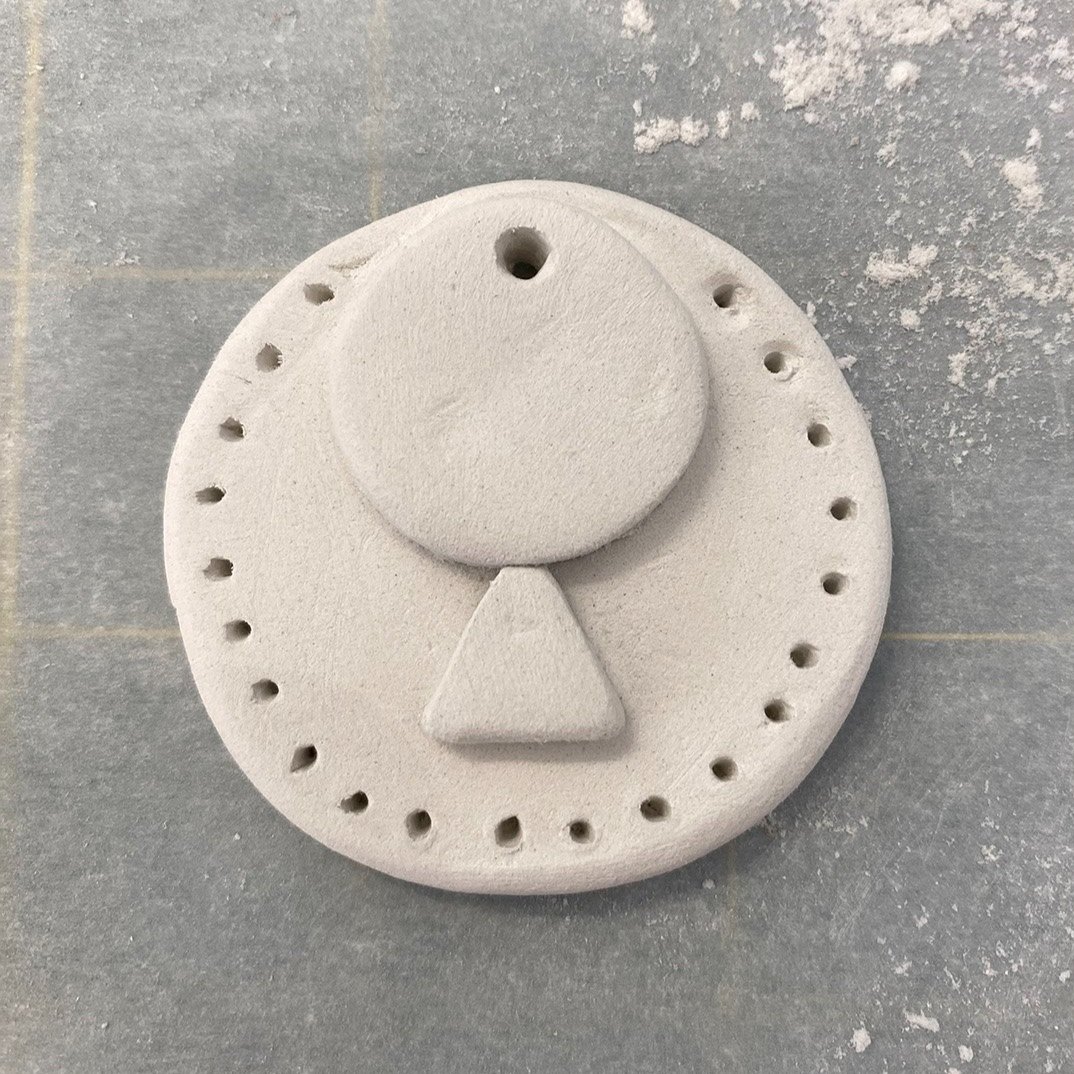
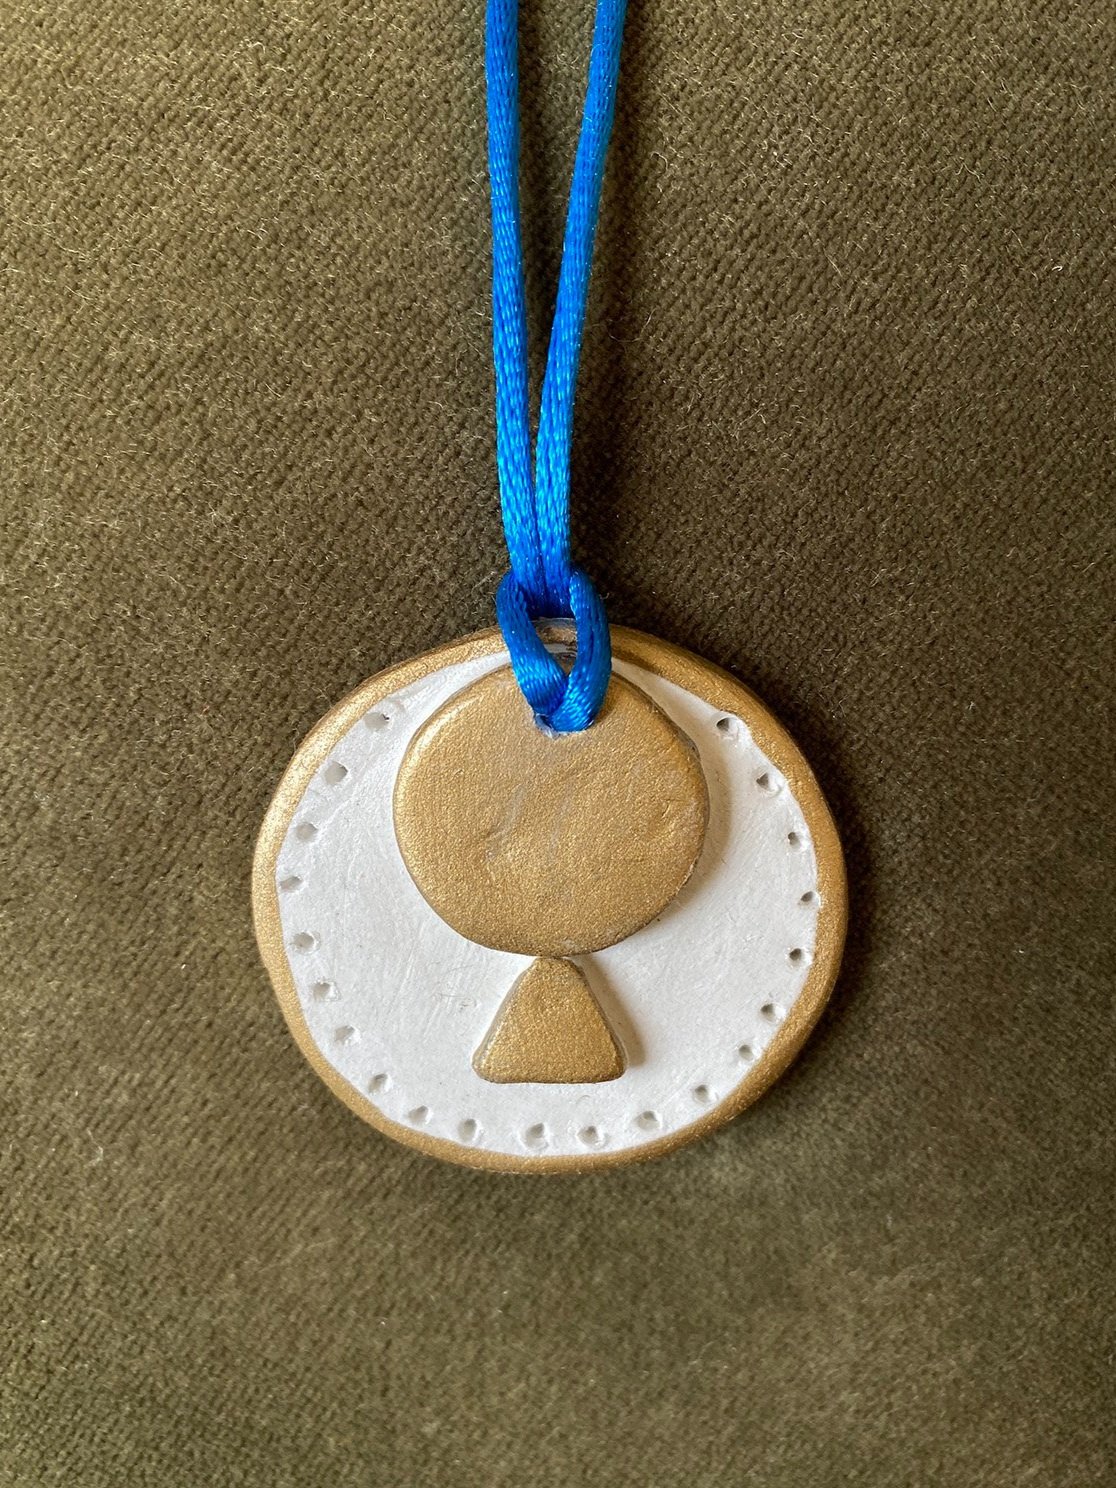
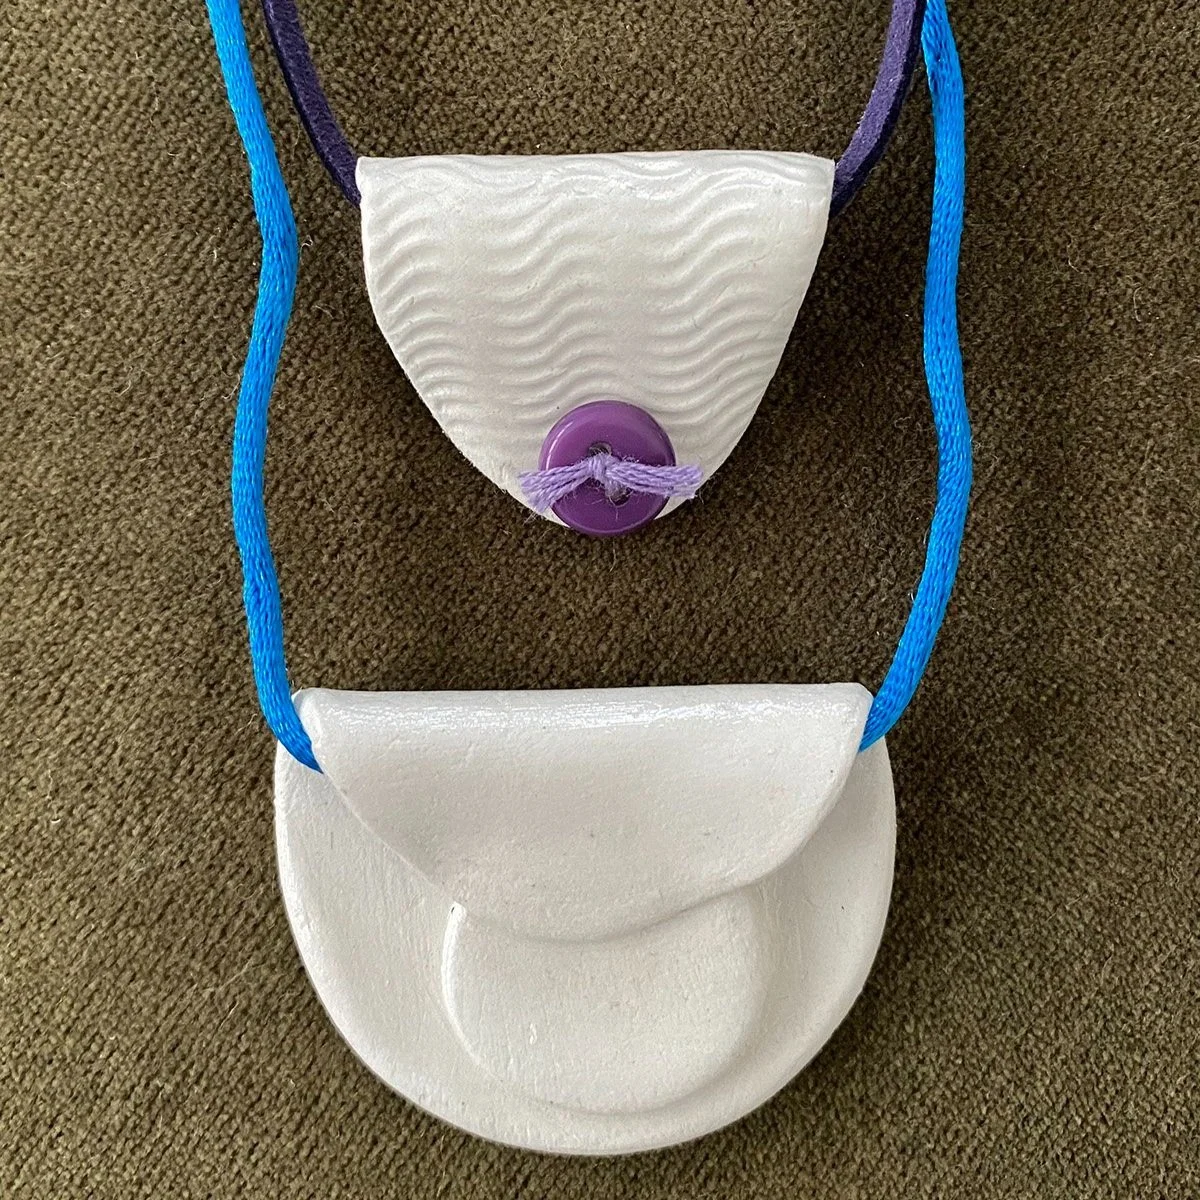
Think outside the box for clay molds…I used a Trader Joe’s dumpling tray for one of the pendents.

Step 2: Roll Out the Clay
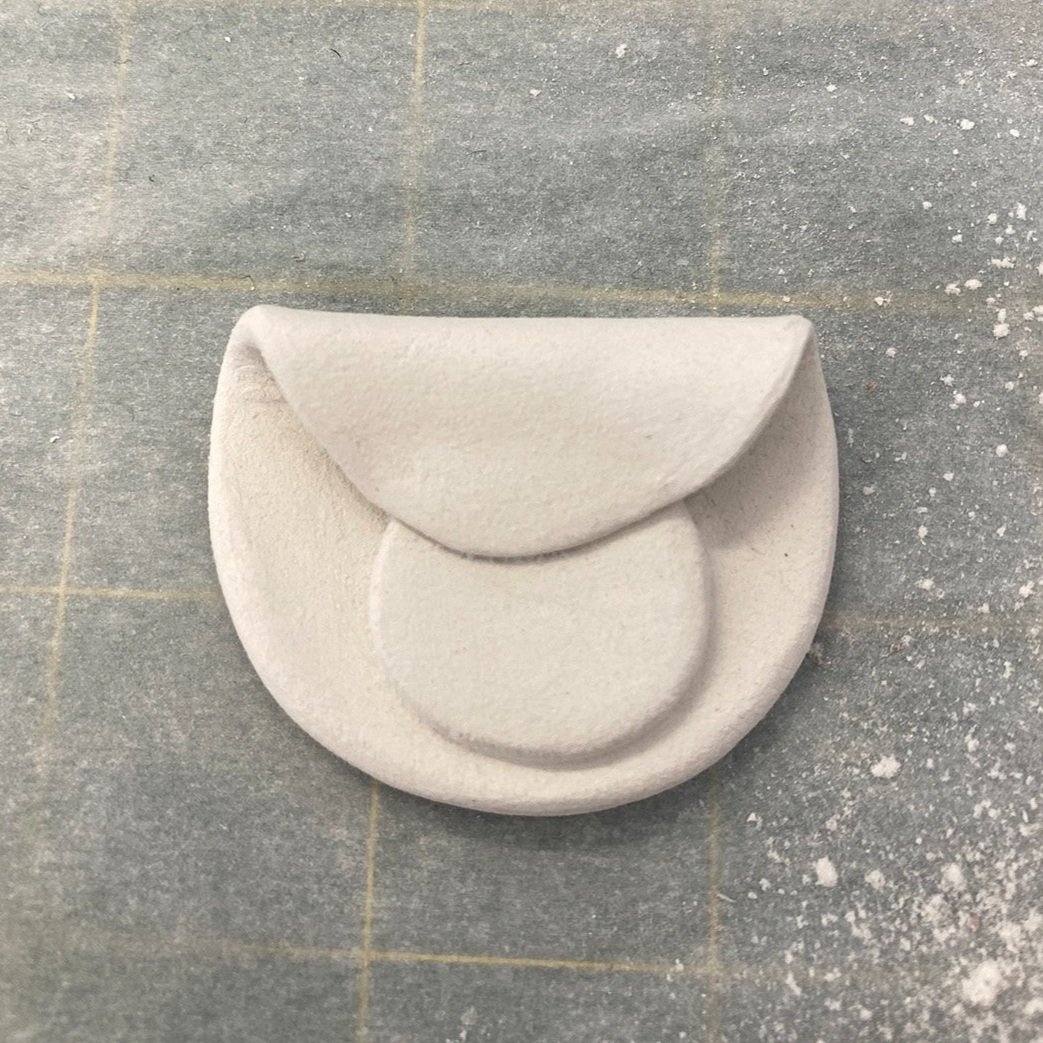
Once you have your clay, it's time to start shaping it into your desired jewelry pieces. Take a small piece of clay and roll it into a ball between your palms. Then, use a rolling pin or your hands to flatten the clay into a thin layer, about 1/8" thick. Use a cookie cutter or other shaping tool to cut out a design. Use a small straw or a sewing needle to add a hole in the top of your design.
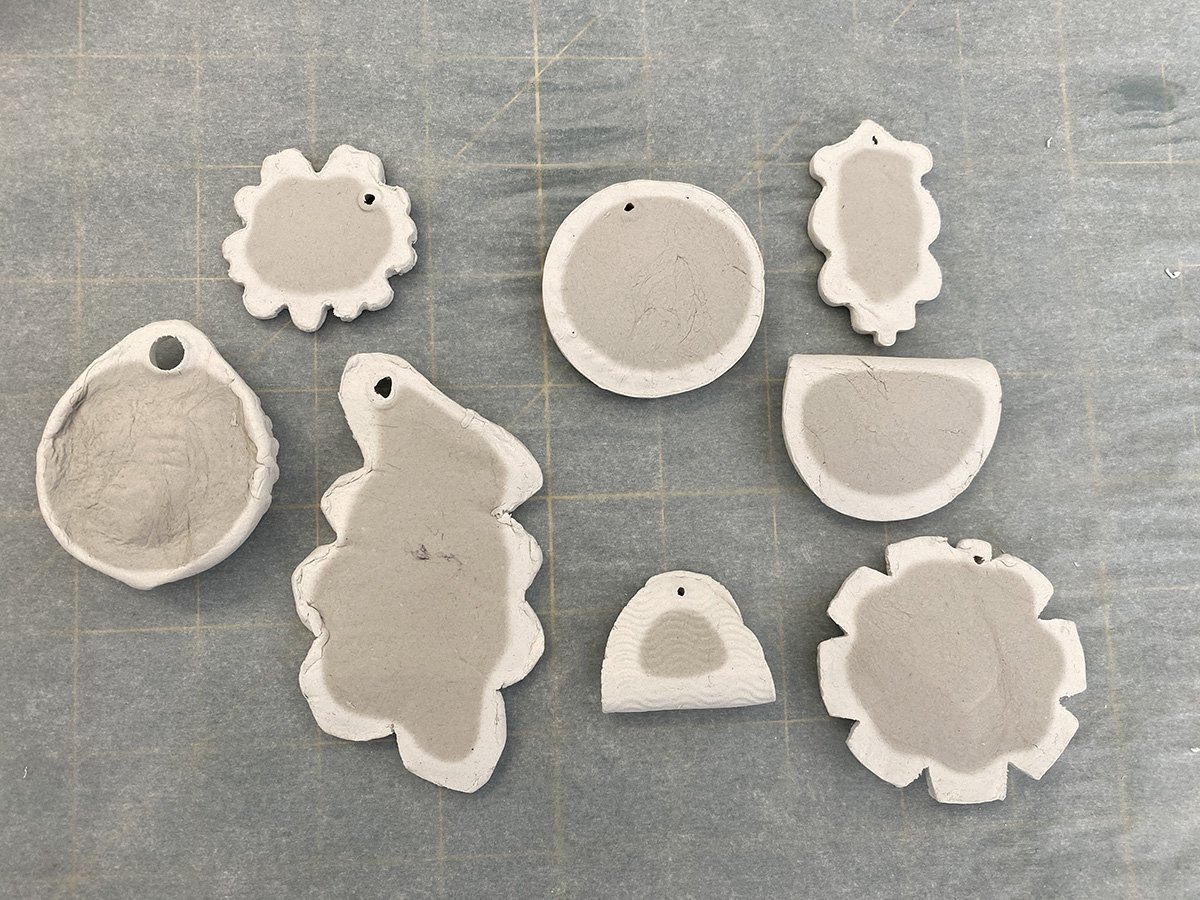

Step 3: Let the Clay Dry
After you've cut out your jewelry shapes, let the clay dry thoroughly. This typically takes anywhere from 24 to 48 hours, depending on the size and thickness of your pieces. Turn the pieces over after about 12 hours to allow air to reach both sides. To speed up the drying process, you can place your clay pieces in a warm, dry area or use a fan to circulate air around them.

Step 4: Sand the Clay
Once your clay pieces are completely dry, use a fine-grit sandpaper to smooth out any rough edges or bumpy surfaces. Sand gently to avoid cracking the clay, and be sure to wear a dust mask or respirator to avoid inhaling any dust.

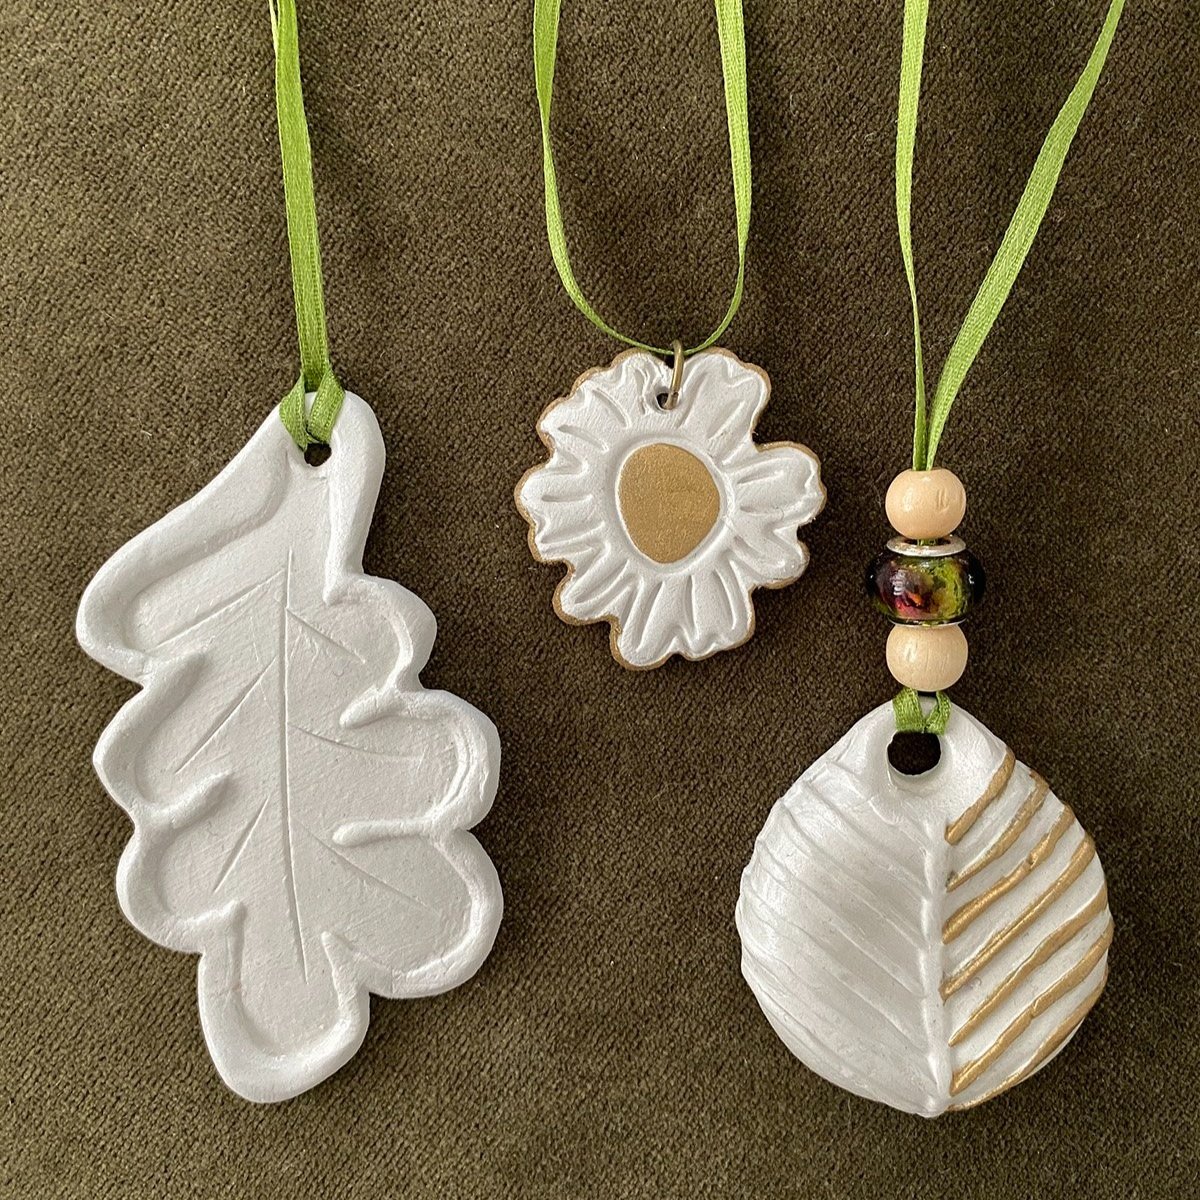
before sanding
after sanding
I used 150 grit sandpaper to soften the edges and smooth the surfaces.


You can see the before and after sanding results here. The goal is to make the clay look like smooth porcelain. Wipe the sanding dust off your piece with a damp cloth before adding varnish.

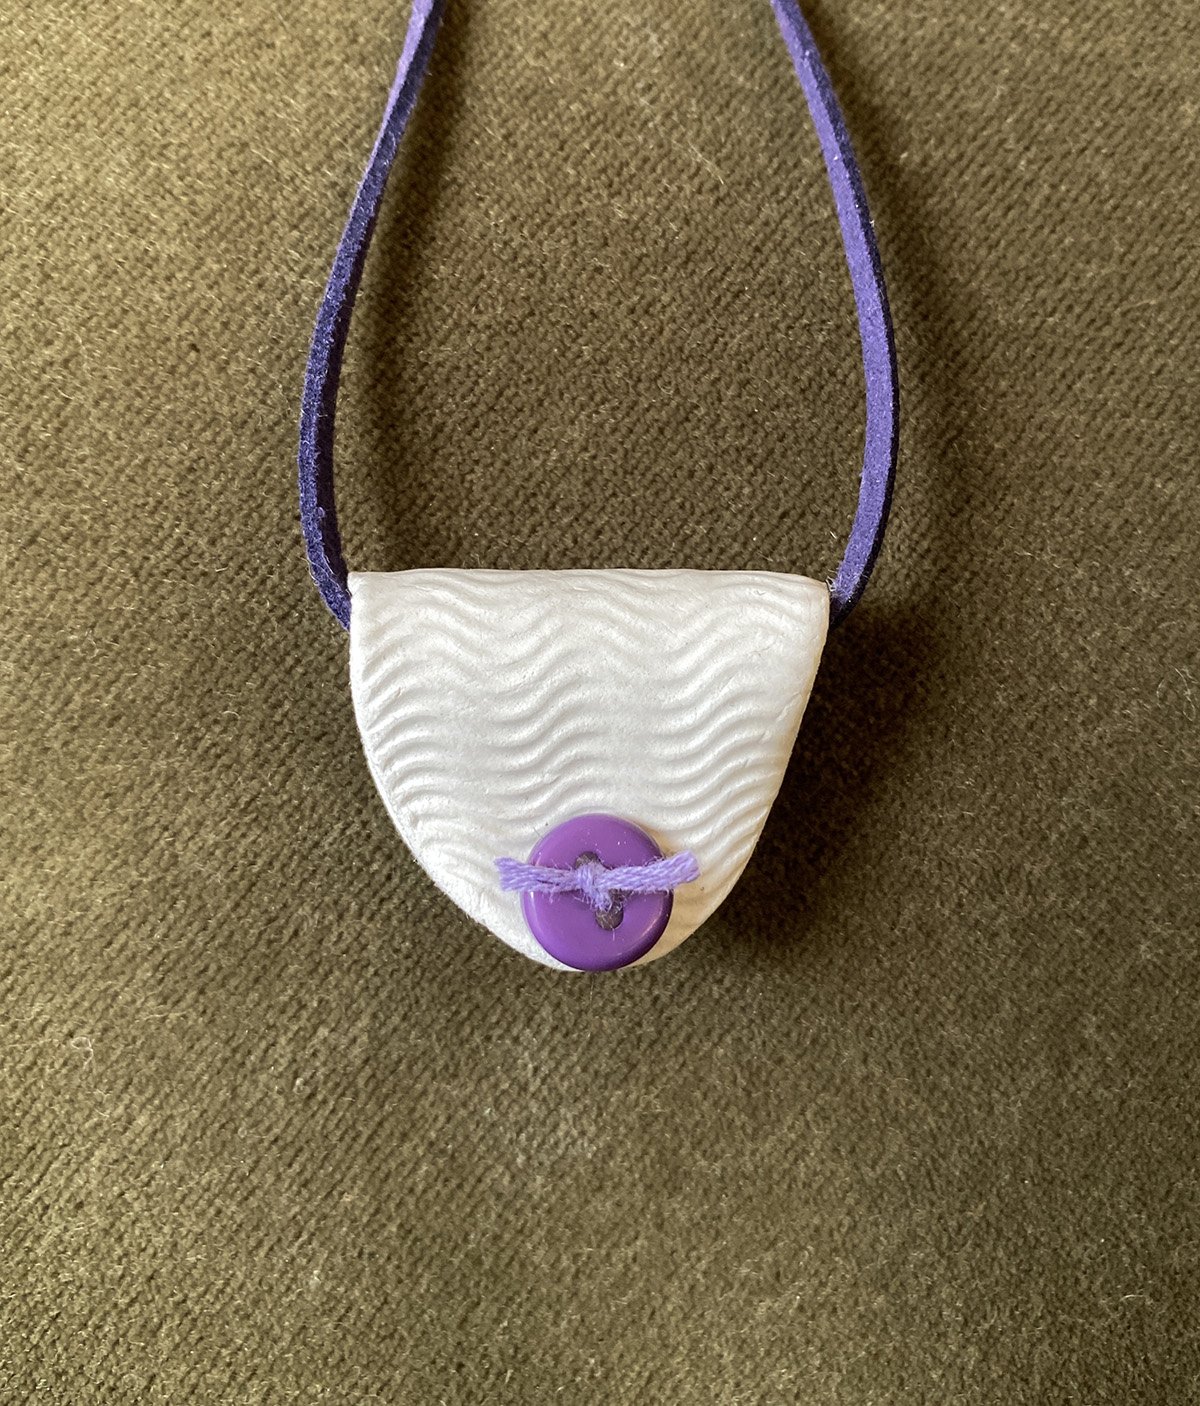
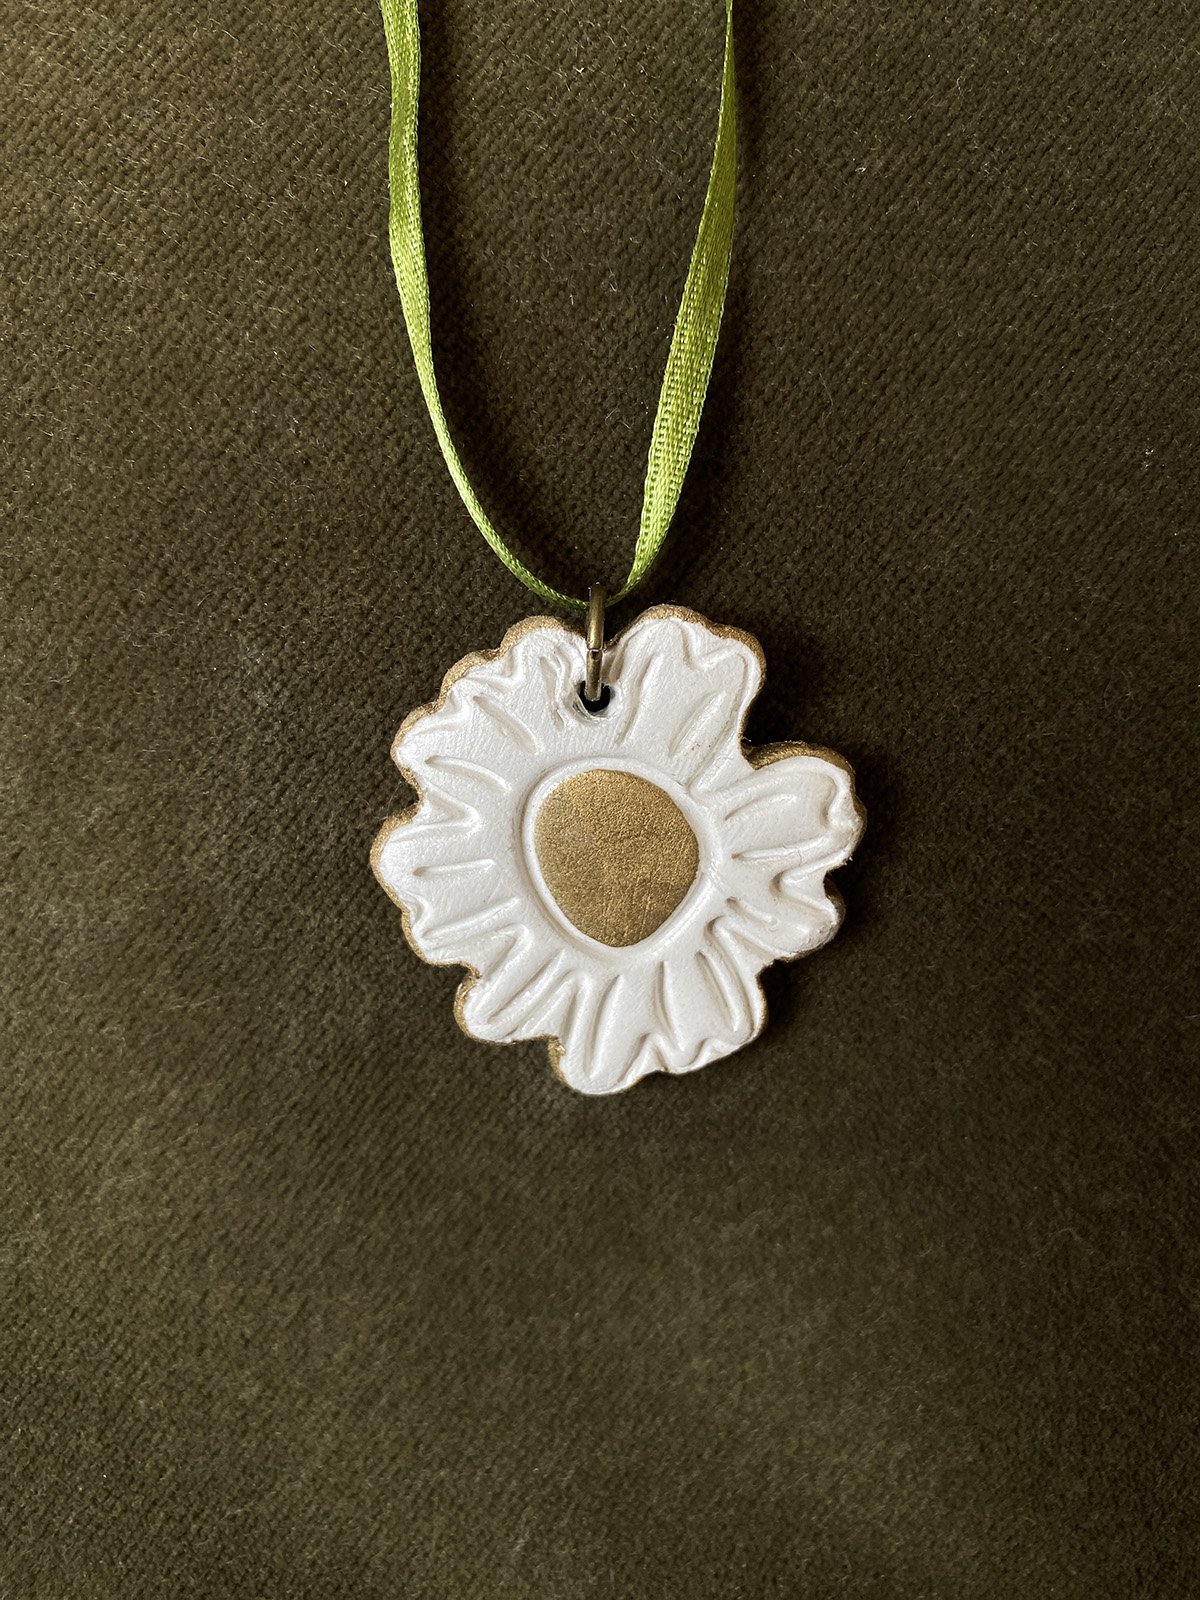
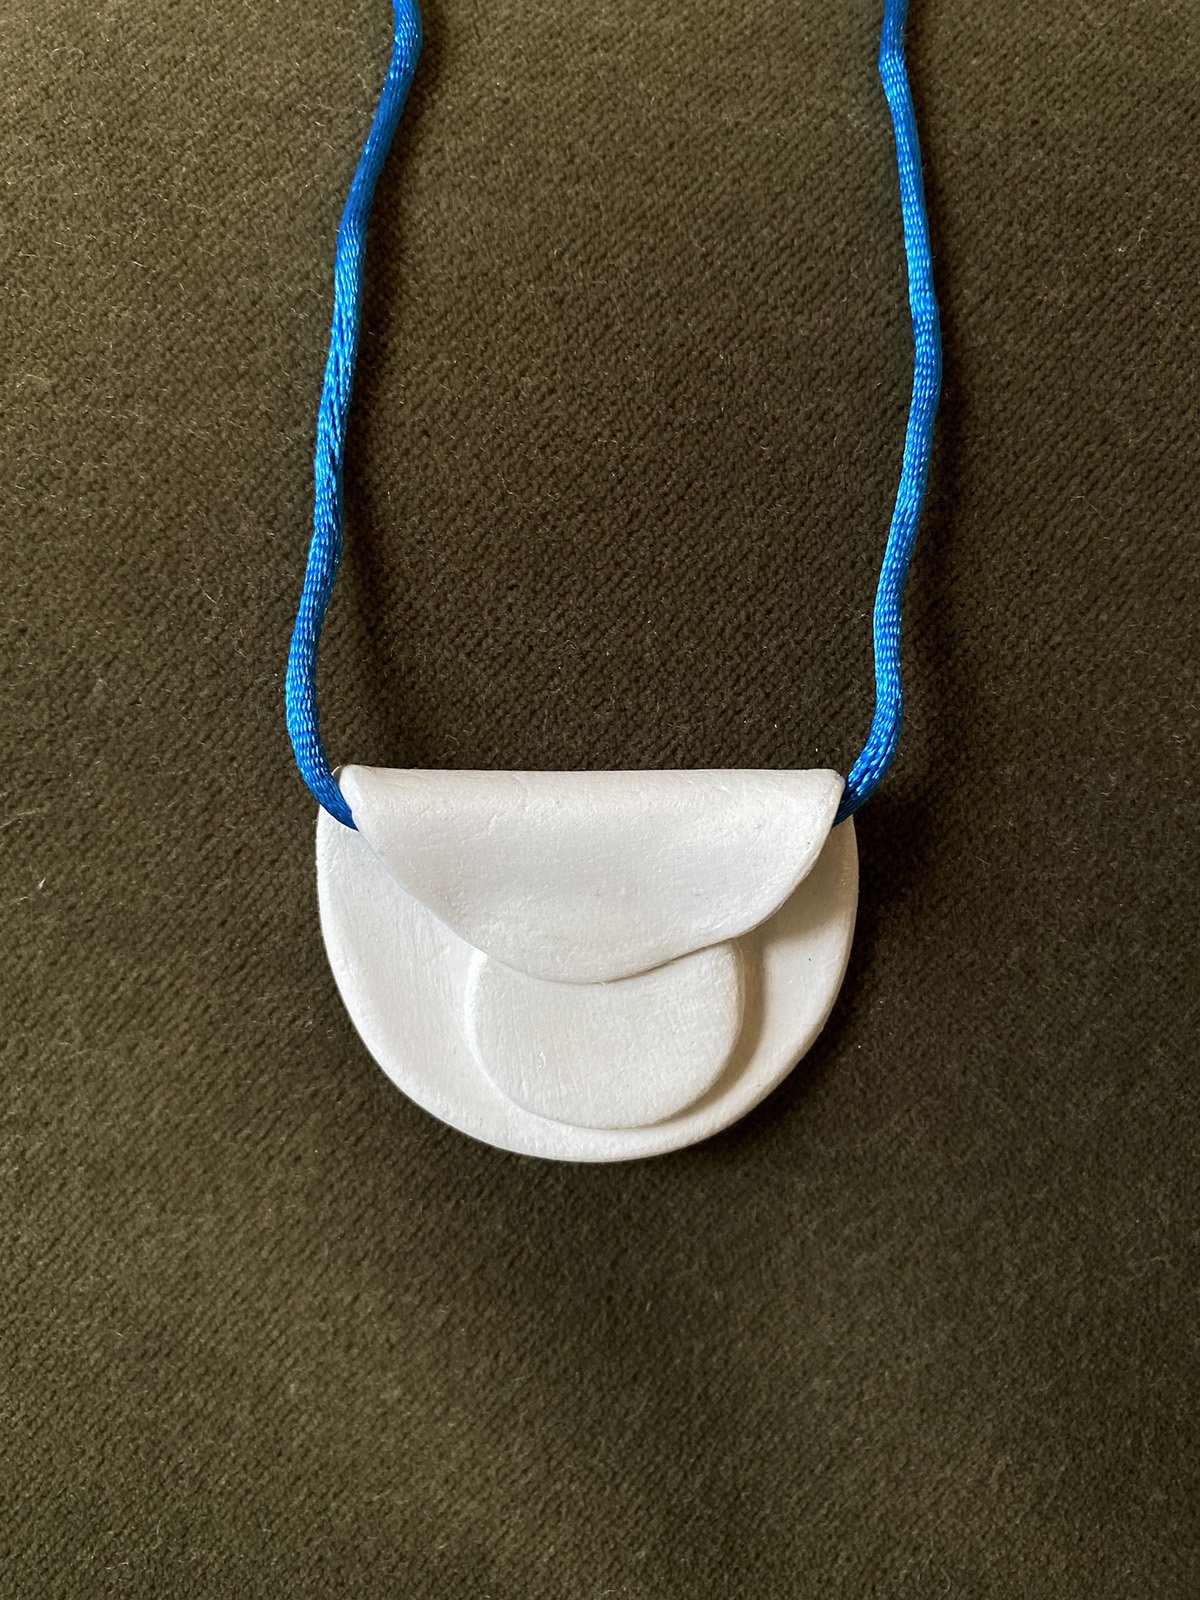
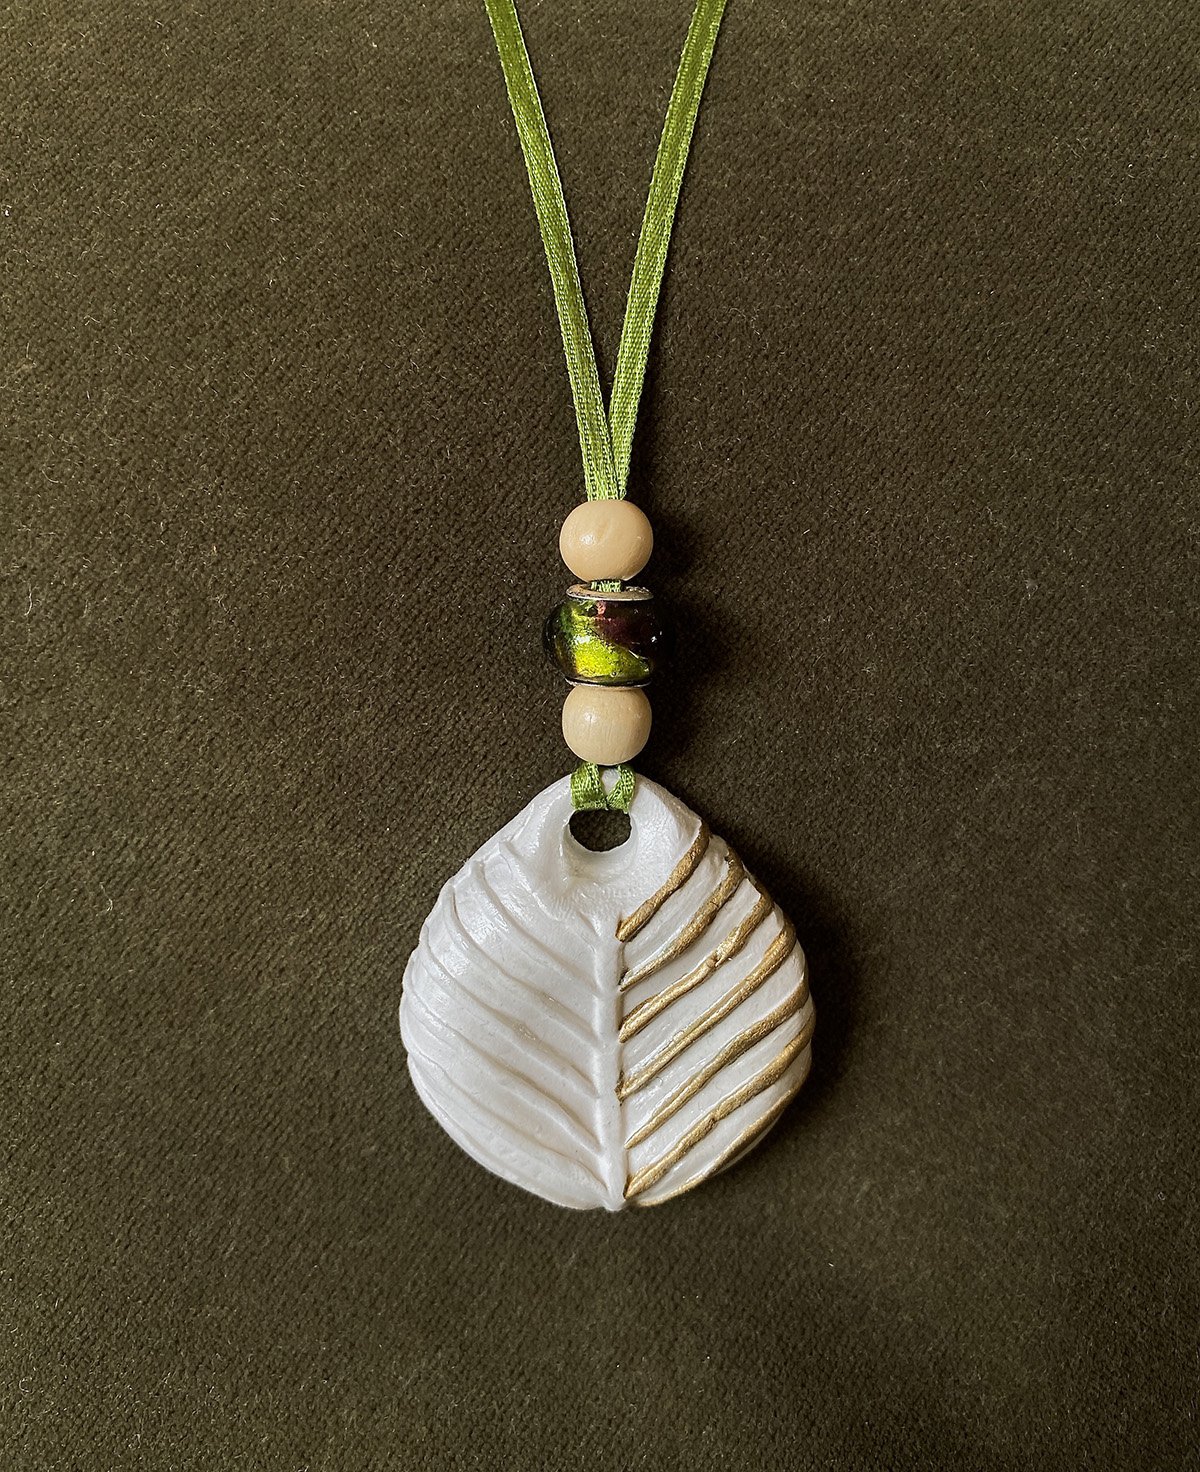
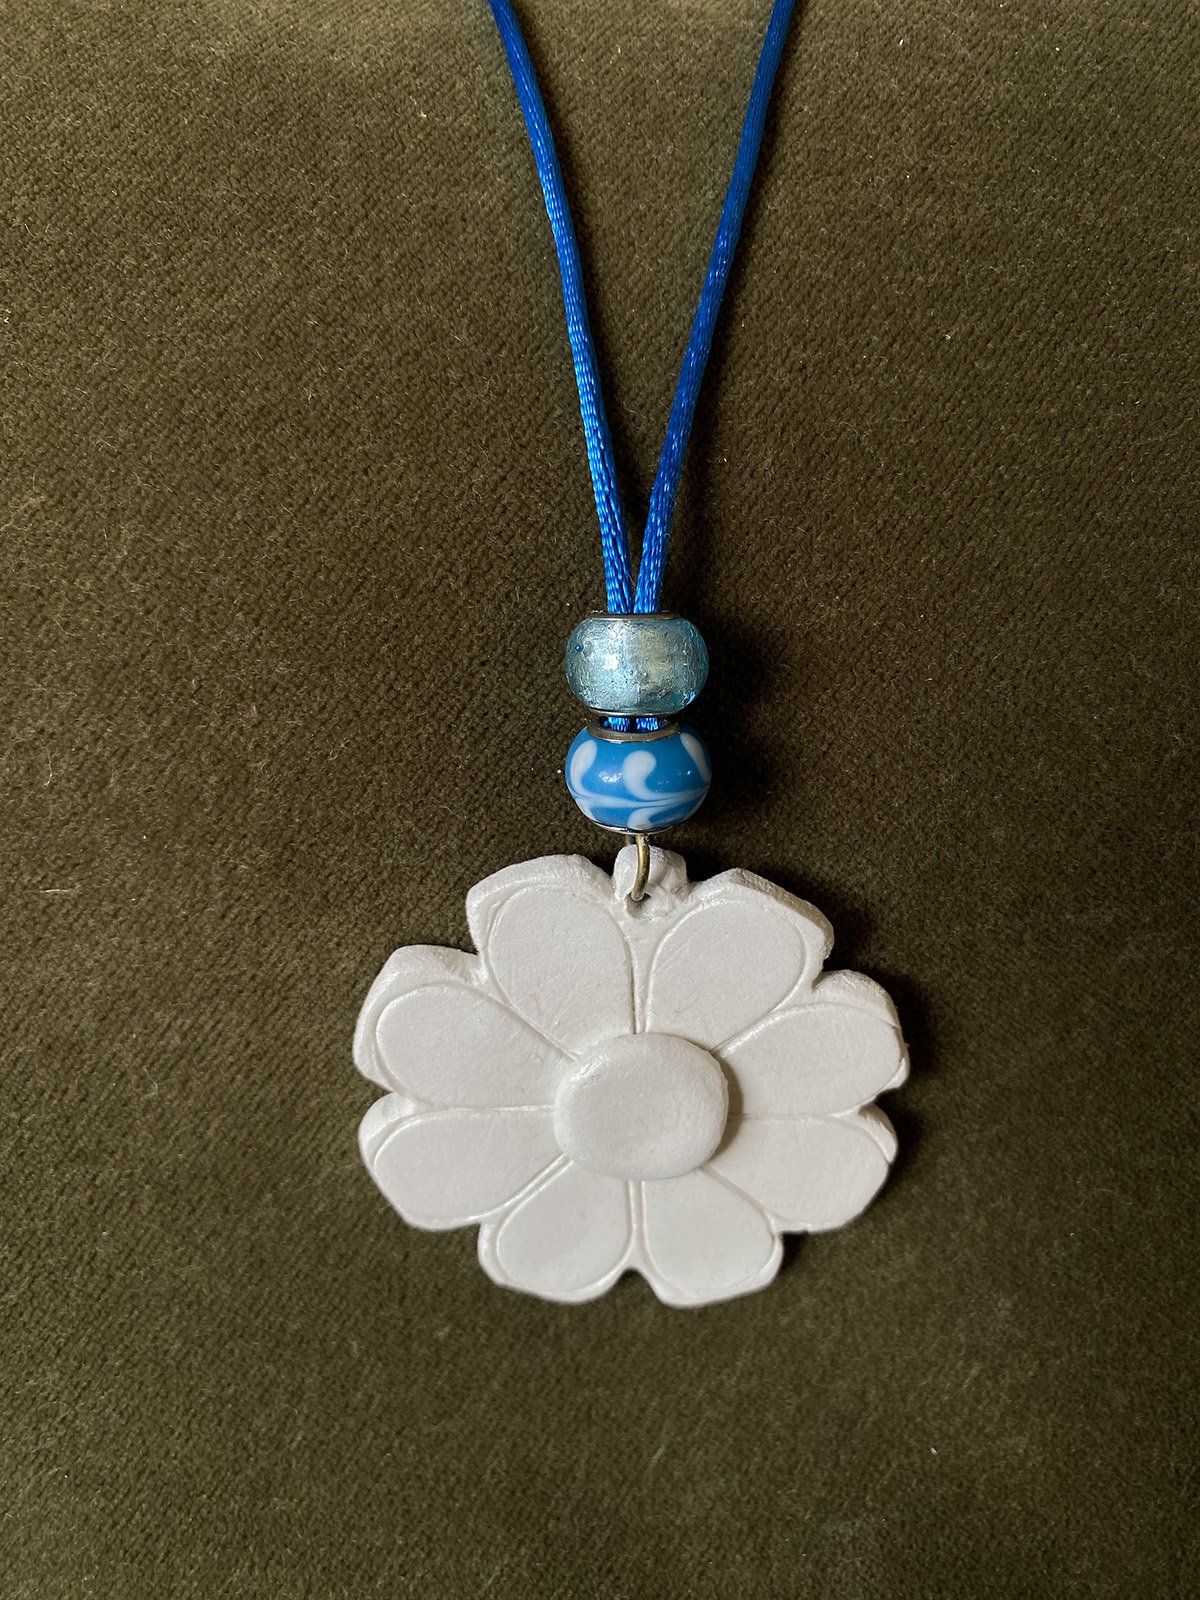
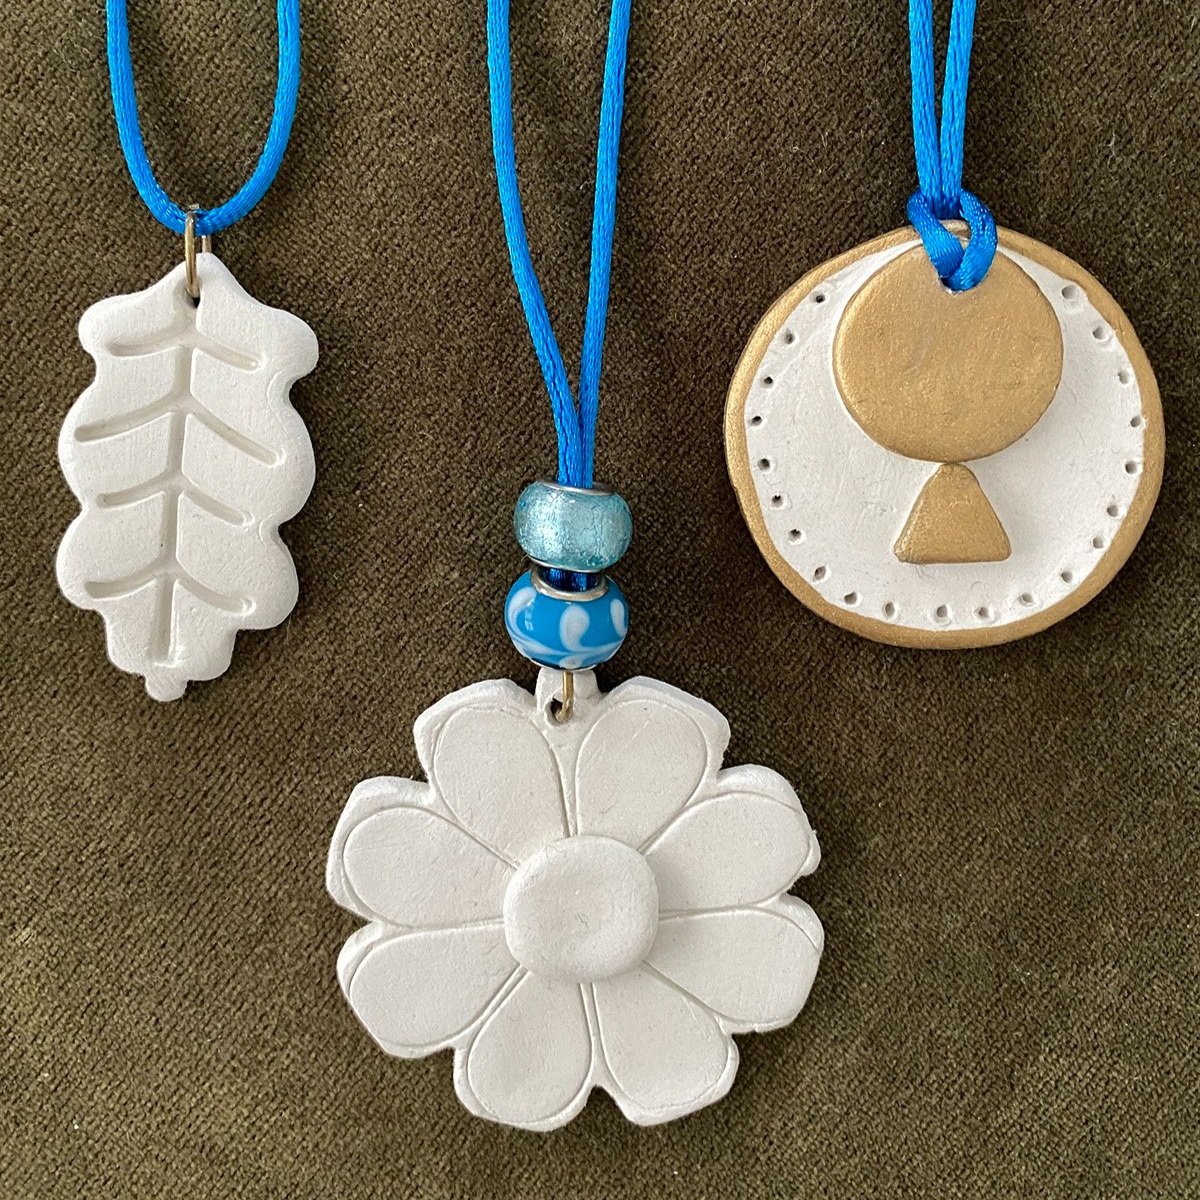
Step 5: Paint or Varnish
The next step is to add color and shine to your clay jewelry. You can use acrylic paint, gold leaf pens, watercolors, or other types of paint to decorate your pieces. Alternatively, you can apply a clear varnish or sealant to protect the clay and give it a matte or glossy finish.

Step 6: Add Cording or Leather
To turn your clay pieces into wearable jewelry, you'll need to attach them to a cord or chain. Leather strips or cords made from cotton or nylon work well for this purpose.

To attach the cord, thread it through the hole or add a jump ring, which is a small metal loop that can be threaded onto the cord.
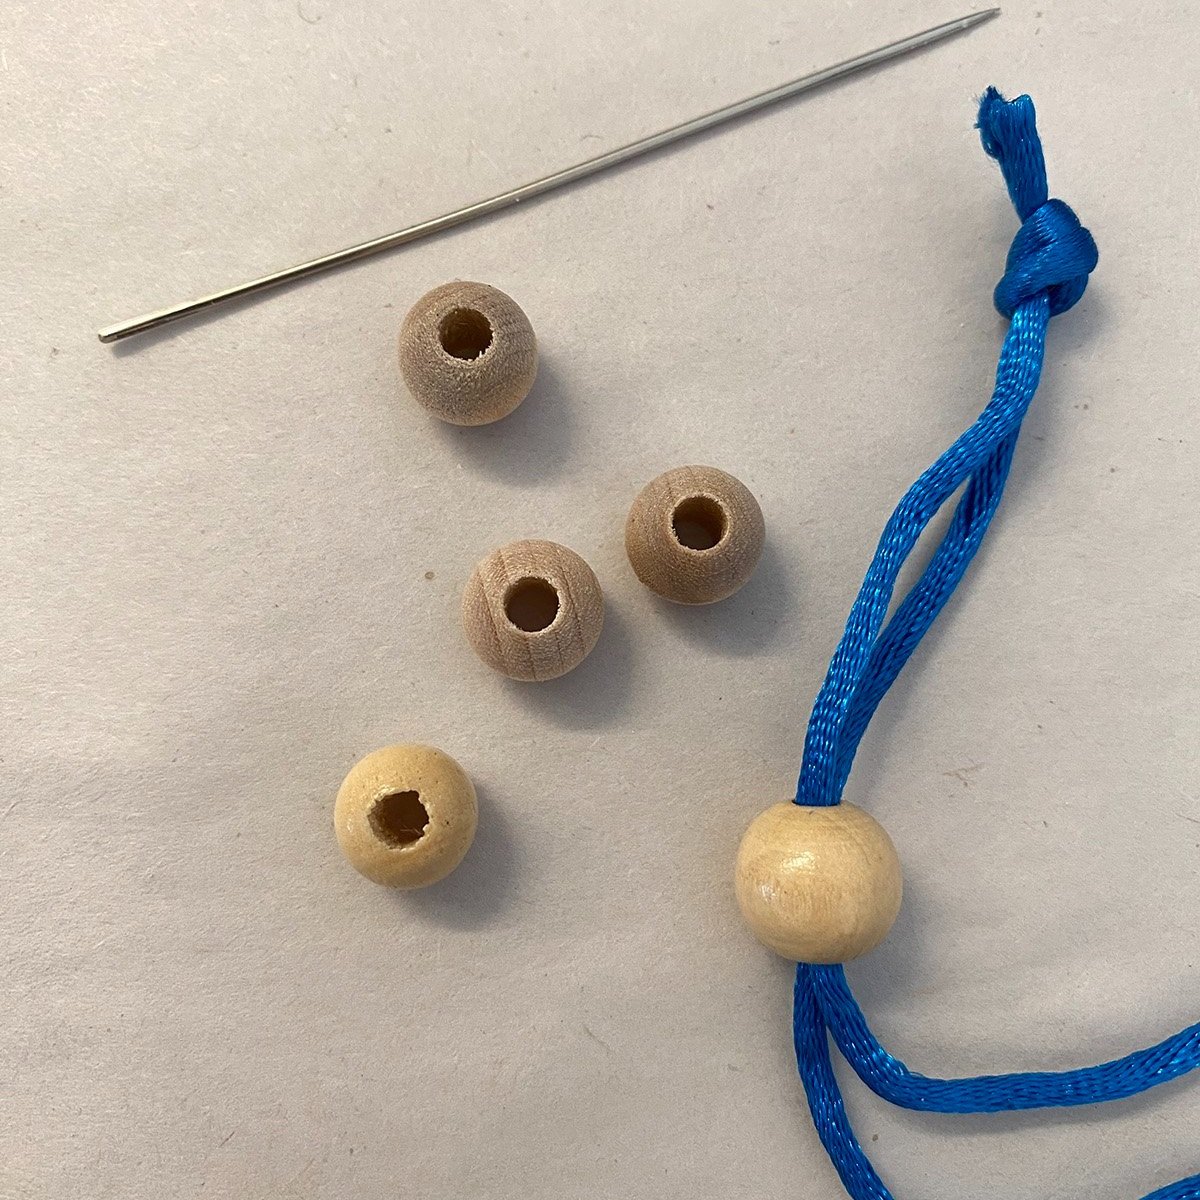
Step 7: Tie with a Bead That Slides
Finally, add a decorative and functional touch to your pendent with a bead that slides. This bead allows you to adjust the length of the cord. Thread the cord through the bead, tie a knot at the end, and trim any excess cord for a clean finish.

Give it a try and see what you can create! With these simple steps, you can create unique and beautiful pieces that reflect your personal style!

For more clay craft inspiration click here!
Our scissors are perfect for everyday use in addition to their beautiful design. The walnut handle provides a comfortable grip and gives these scissors a touch of elegance, making them perfect for crafting, sewing or even in the kitchen. They even make a great photo-worthy prop!
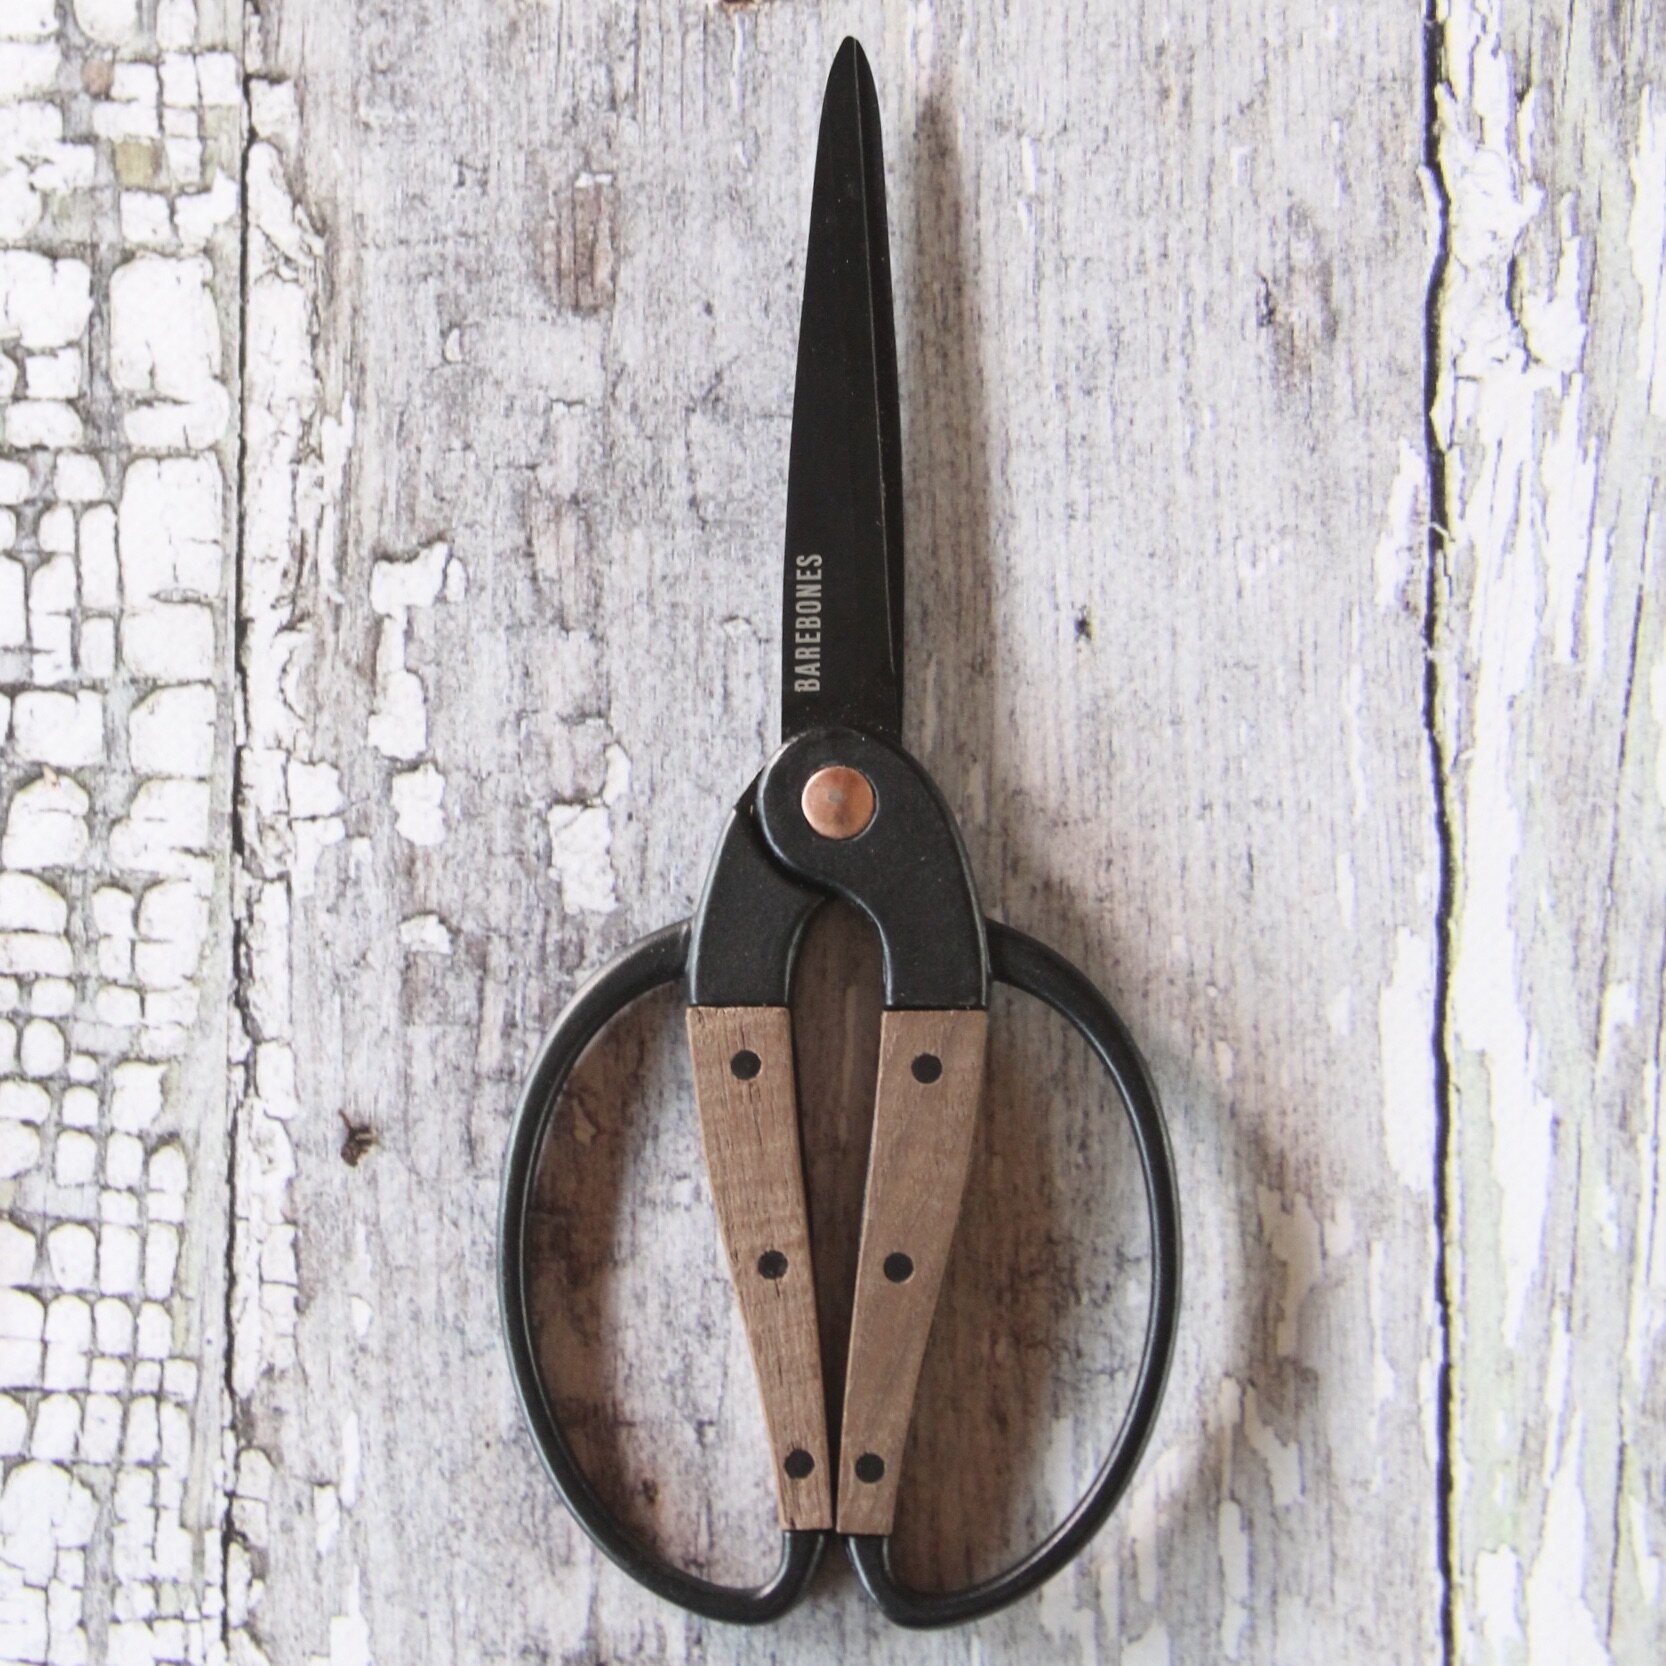

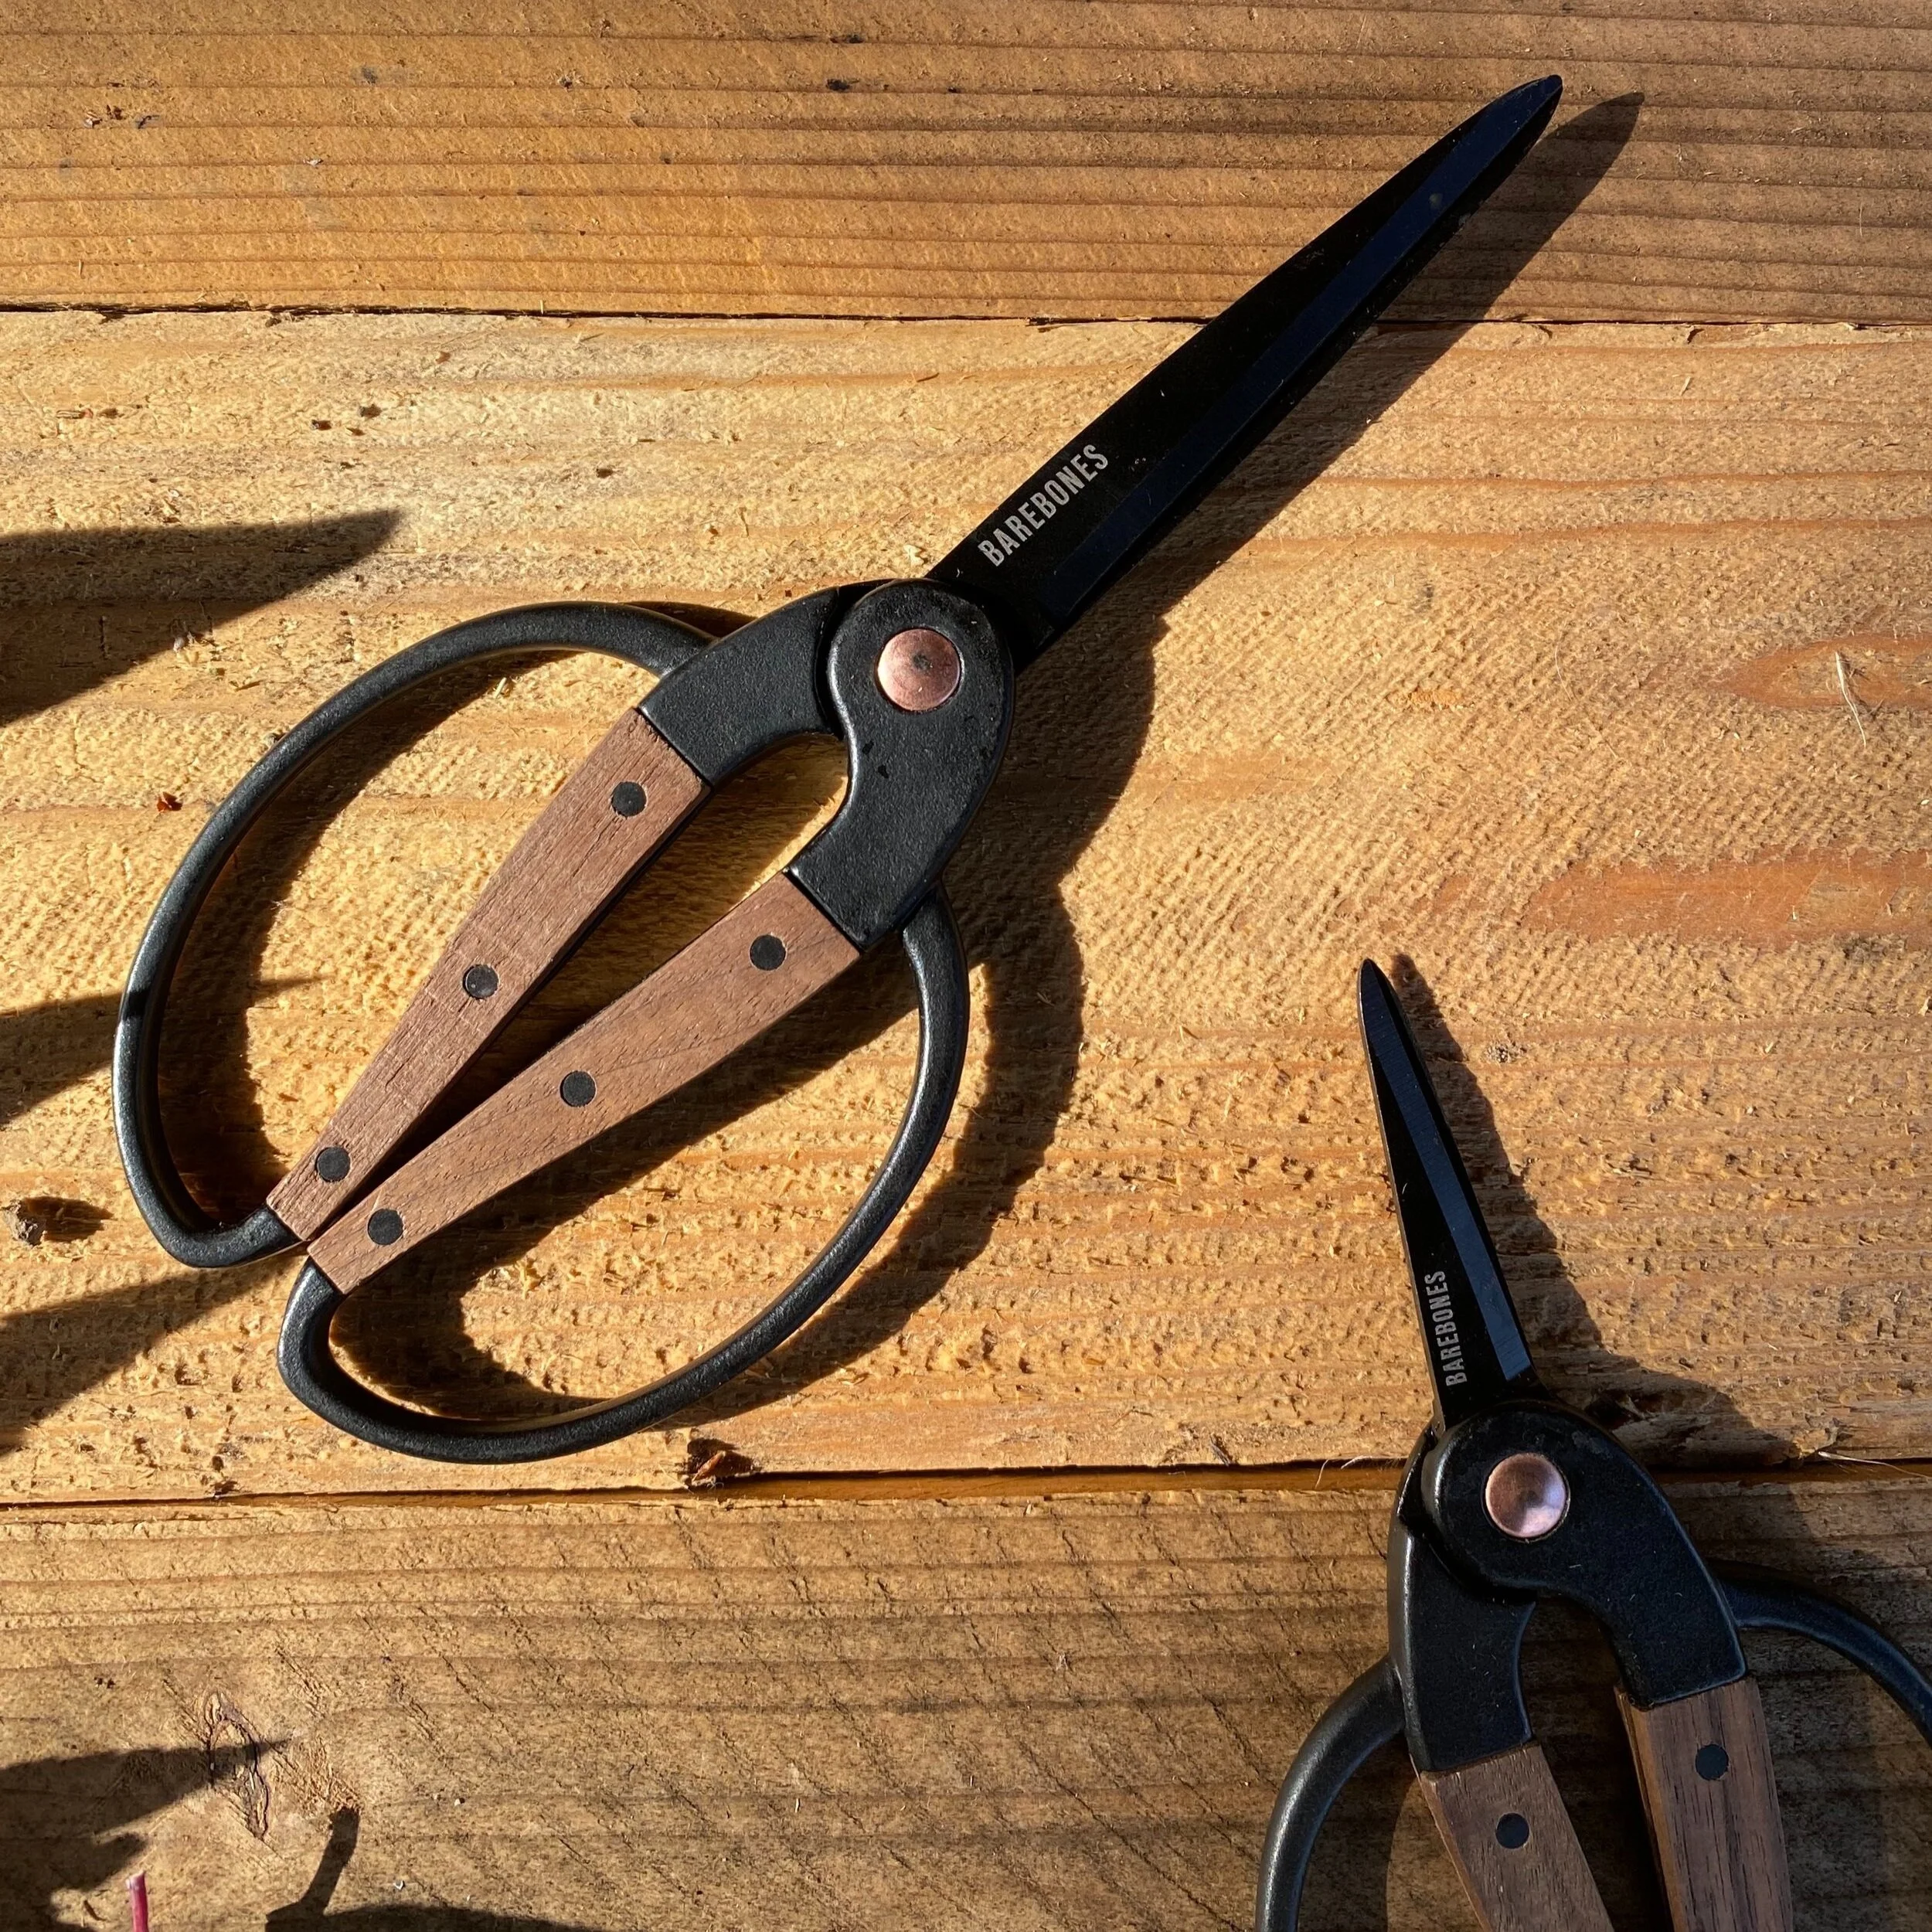
Barebones Walnut Scissors
from $24.00
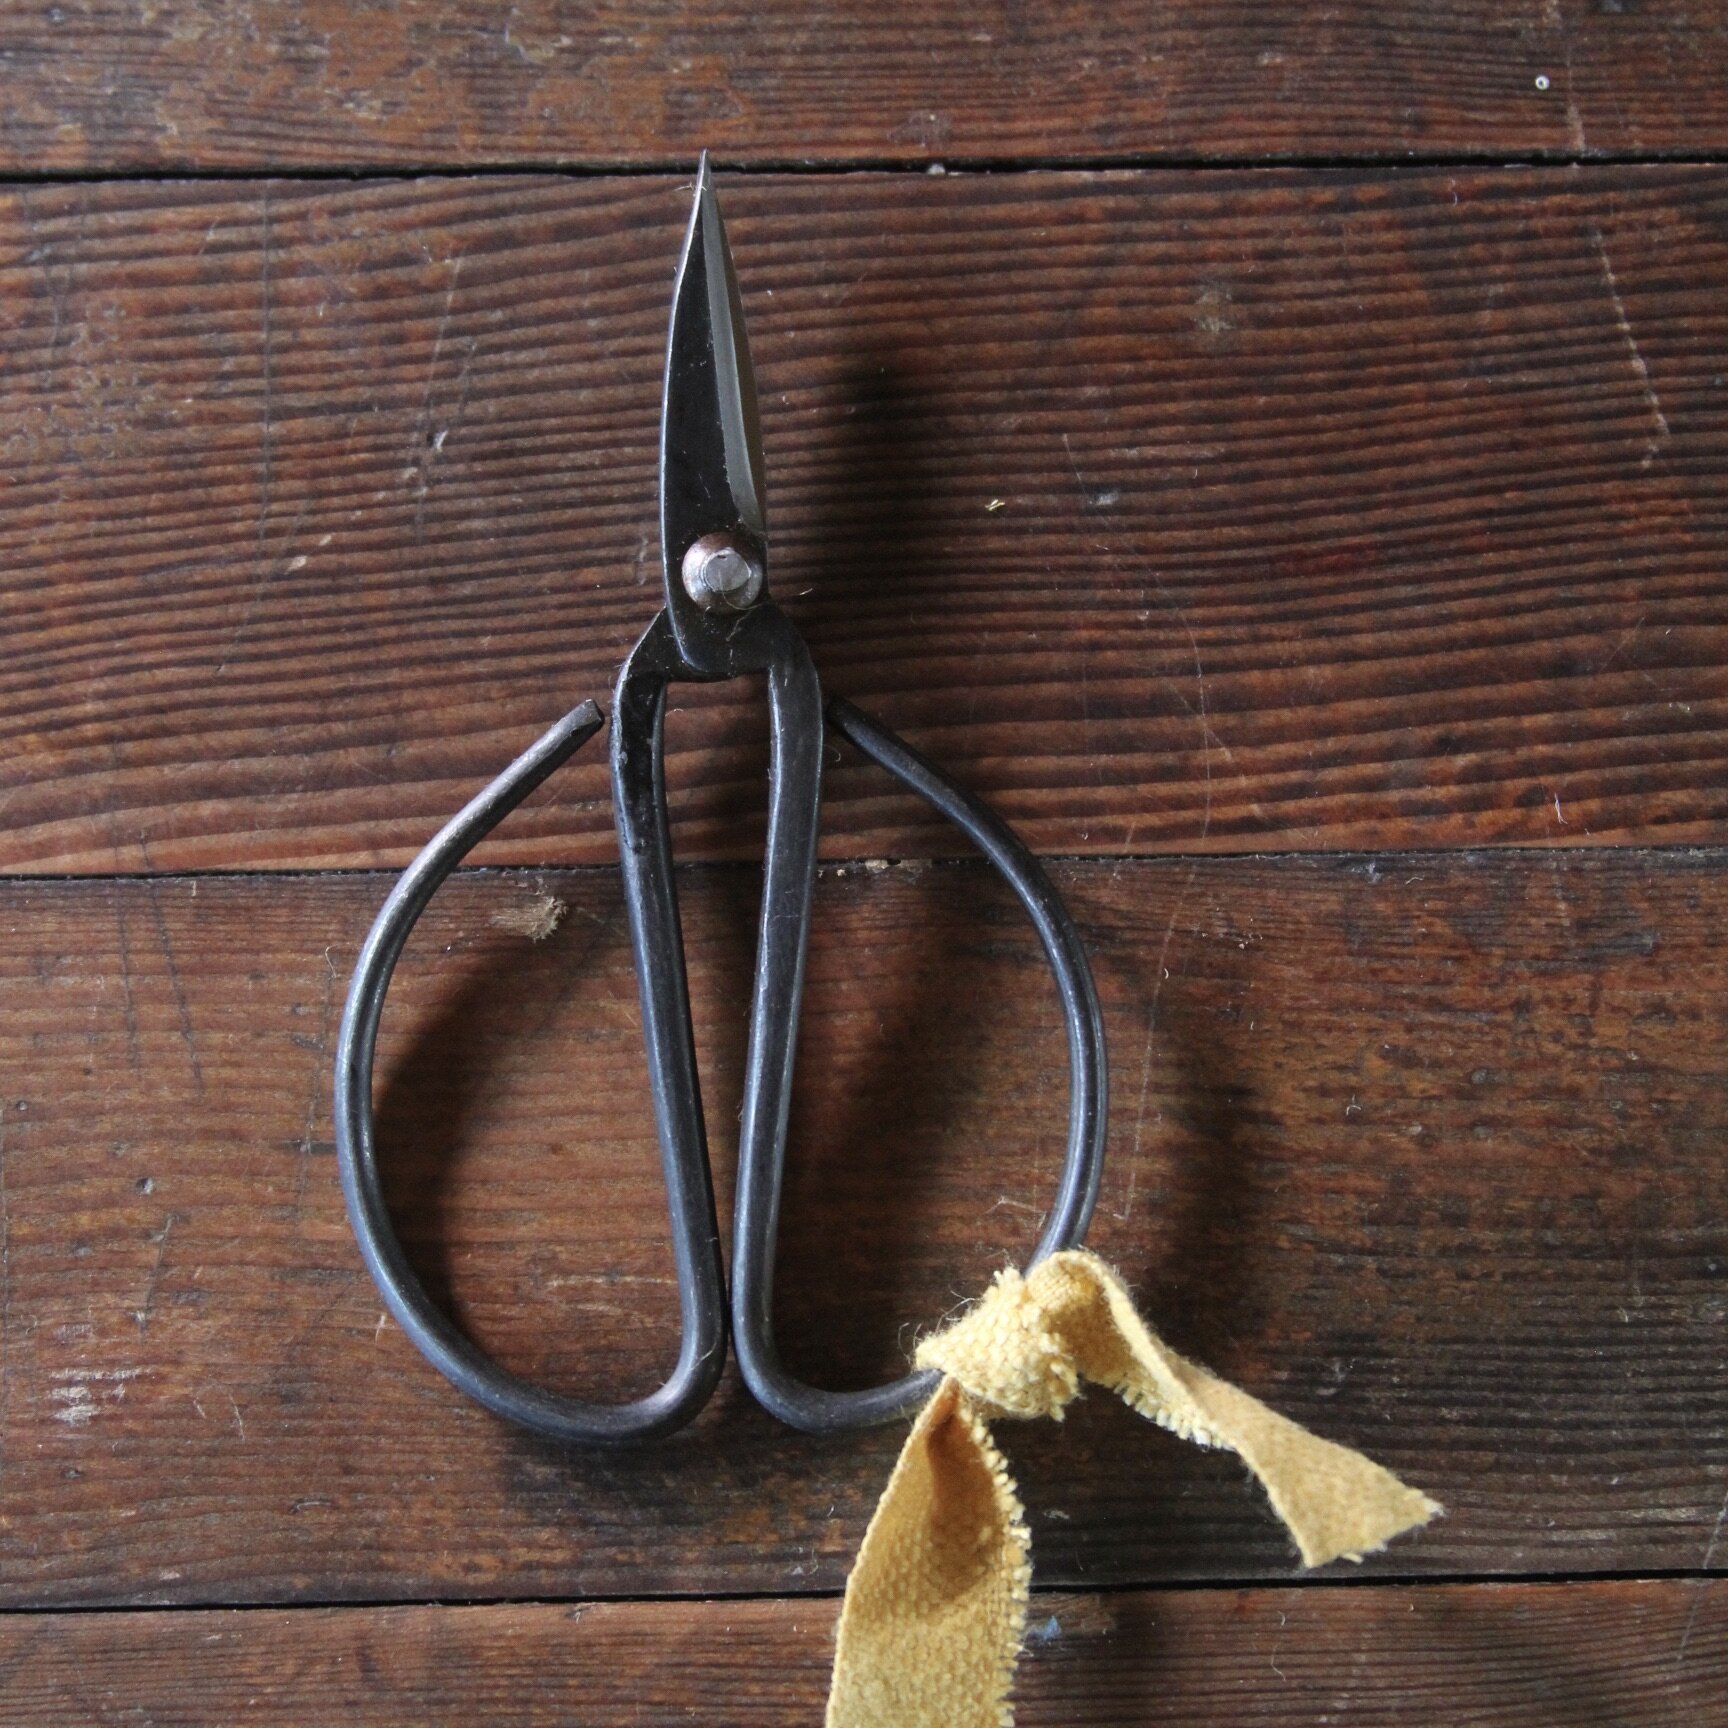
Forged Iron Scissors
from $10.00